Hey there! Ever found yourself staring at a Pinterest board full of gorgeous birthday cookies, wondering how on earth people make them look so perfect?
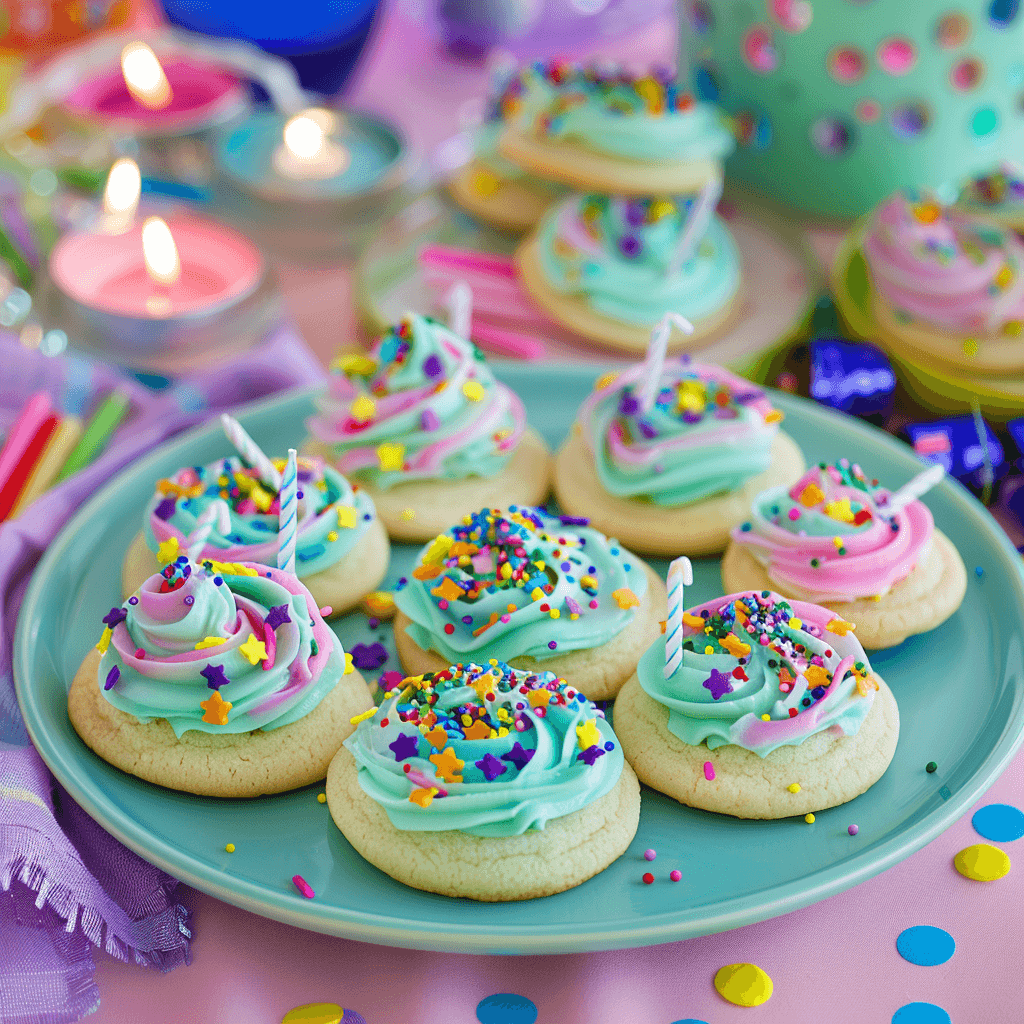
Trust me, I’ve been there too. But after years of baking (and a few cookie disasters), I’ve cracked the code to making birthday cookies that are not only delicious but also look like they came straight from a bakery. Let’s get started!
Why Birthday Cookies Are the Perfect Treat
Birthday cookies are my go-to for celebrations because they’re fun, customizable, and way easier to make than a cake. Plus, who doesn’t love a cookie? Whether you’re baking for a kid’s party or an adult gathering, these cookies are always a hit. And the best part? You don’t need to be a pro baker to pull them off.
What You’ll Need to Make Birthday Cookies
Let’s keep it simple. Here’s what you’ll need:
Dry Ingredients:
- 2 ½ cups all-purpose flour
- 1 tsp baking powder
- ½ tsp salt
Wet Ingredients:
- 1 cup unsalted butter (room temperature—this is key!)
- 1 ½ cups granulated sugar
- 2 large eggs
- 2 tsp vanilla extract (go for the good stuff—it makes a difference!)
Decorating Supplies:
- Rainbow sprinkles (because birthdays need color!)
- Royal icing or buttercream frosting
- Food coloring (if you’re feeling fancy)
Pro Tip: If you’re short on time, store-bought dough works too. No judgment here!
Step-by-Step Instructions for Perfect Birthday Cookies
1. Make the Dough
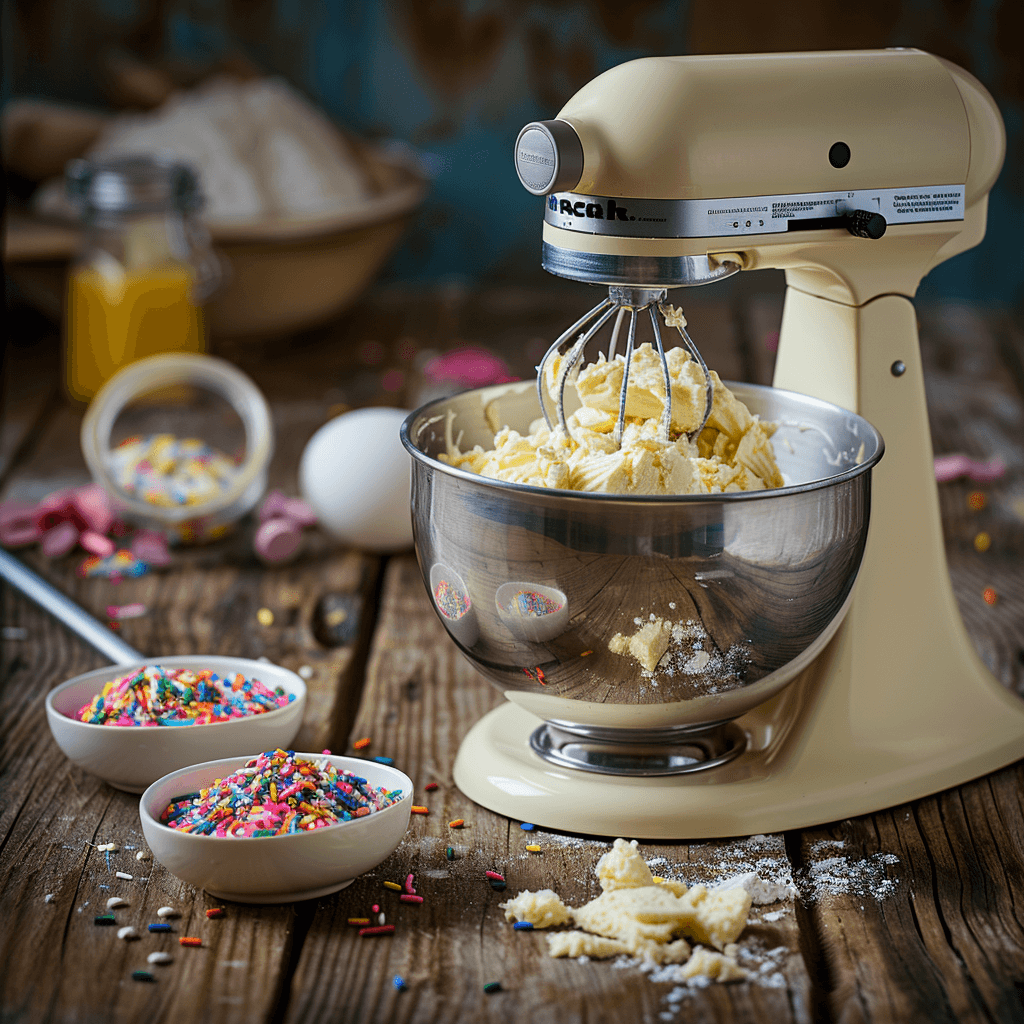
- Cream the butter and sugar together until it’s light and fluffy. (This is where your arm workout comes in—or just use a mixer!)
- Add the eggs one at a time, then mix in the vanilla.
- Gradually add the dry ingredients until the dough comes together.
Chef’s Tip: If the dough feels sticky, pop it in the fridge for 30 minutes. It’ll be easier to handle.
2. Roll and Cut
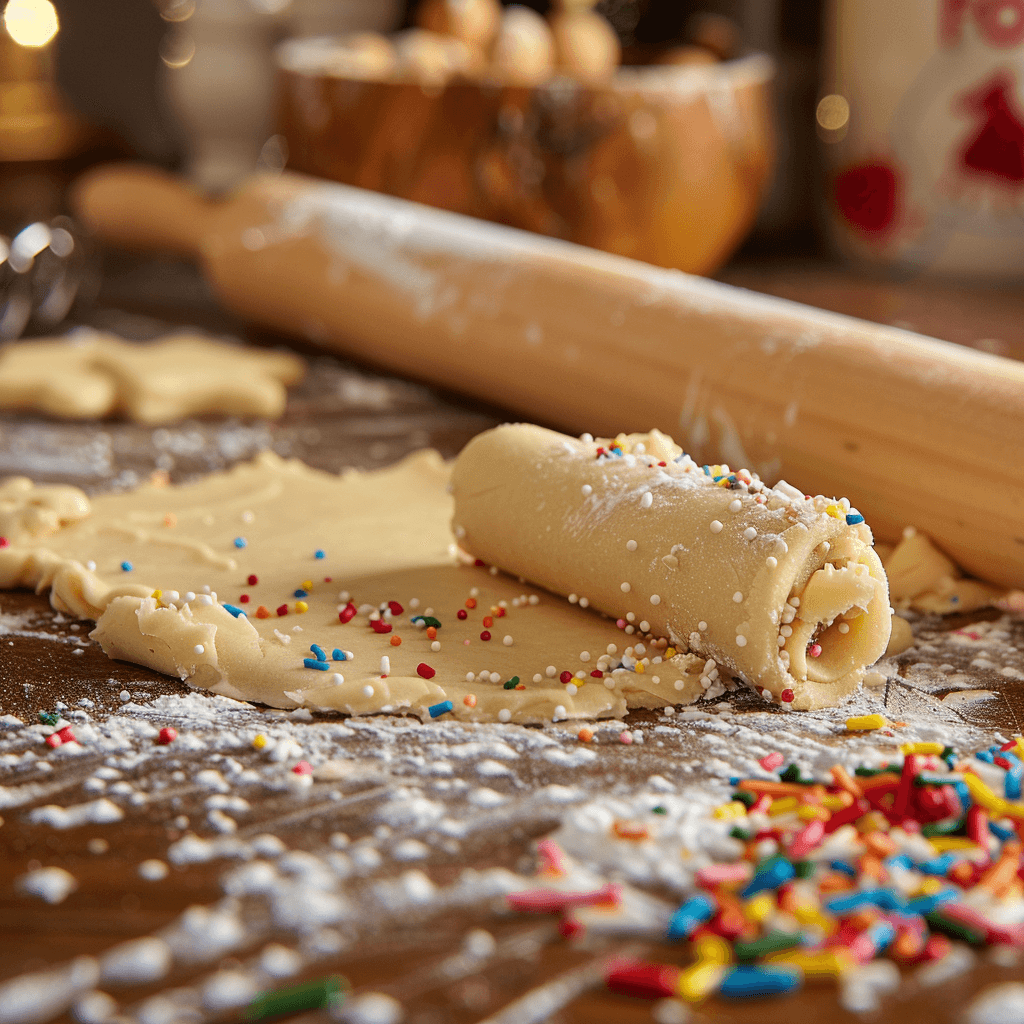
- Roll the dough to about ¼-inch thickness. Too thin, and they’ll burn; too thick, and they won’t cook evenly.
- Use cookie cutters to create fun shapes—stars, numbers, or even simple circles work great.
3. Bake to Perfection
- Preheat your oven to 350°F (175°C).
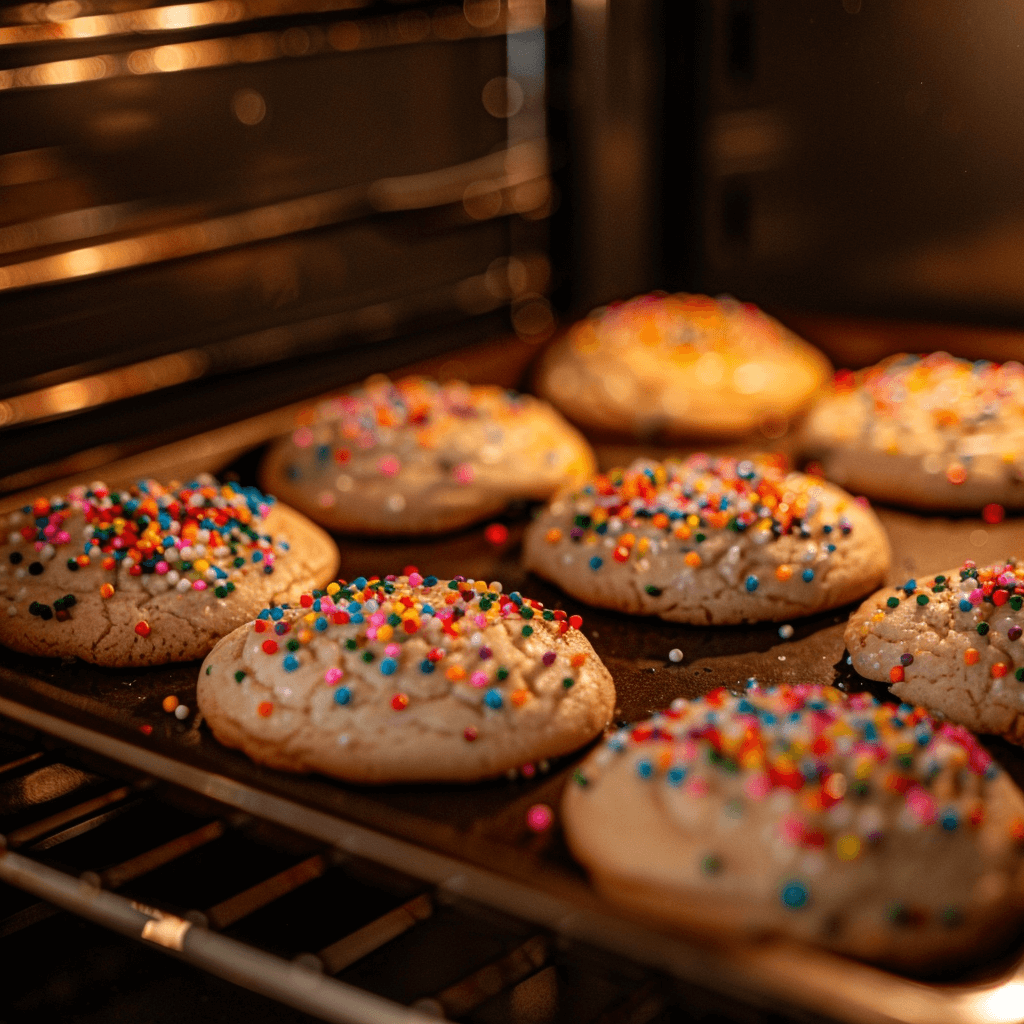
- Bake for 10–12 minutes, or until the edges are just golden.
Watch Out: Overbaking is the enemy of soft cookies. Take them out when they still look slightly underdone—they’ll firm up as they cool.
Decorating Tips That Make Your Cookies Shine
Here’s where the magic happens. Decorating doesn’t have to be complicated—just fun!
- Frosting Basics: Use royal icing for a smooth, professional look or buttercream for a homemade vibe.
- Sprinkle Game Strong: Add sprinkles before the frosting sets so they stick.
- Personal Touch: Use food coloring to match the party theme or pipe on names for a custom feel.

Story Time: Once, I tried to pipe intricate designs on cookies after a long day. Let’s just say they looked more like modern art than birthday cookies. Lesson learned—keep it simple and have fun!
How to Store and Gift Your Cookies
- Storage: Keep them in an airtight container for up to a week. If you’re making them ahead, freeze the dough or baked cookies.
- Gifting: Stack them in a cute box or jar, tie it with a ribbon, and voilà—you’ve got a gift that’ll make anyone smile.
Frequently Asked Questions
Can I make these cookies ahead of time?
Absolutely! Bake them a day or two before, and decorate when you’re ready.
What’s the best way to add sprinkles without them melting?
Add sprinkles right after baking while the cookies are still warm. They’ll stick without losing their shape.
Can I use gluten-free flour?
Yes, but the texture might be slightly different. I recommend a 1:1 gluten-free flour blend for best results.
Final Thoughts
Making birthday cookies doesn’t have to be stressful. With a little practice and a lot of sprinkles, you’ll be whipping up cookies that look and taste amazing. Remember, it’s not about perfection—it’s about having fun and creating something special for the people you love.
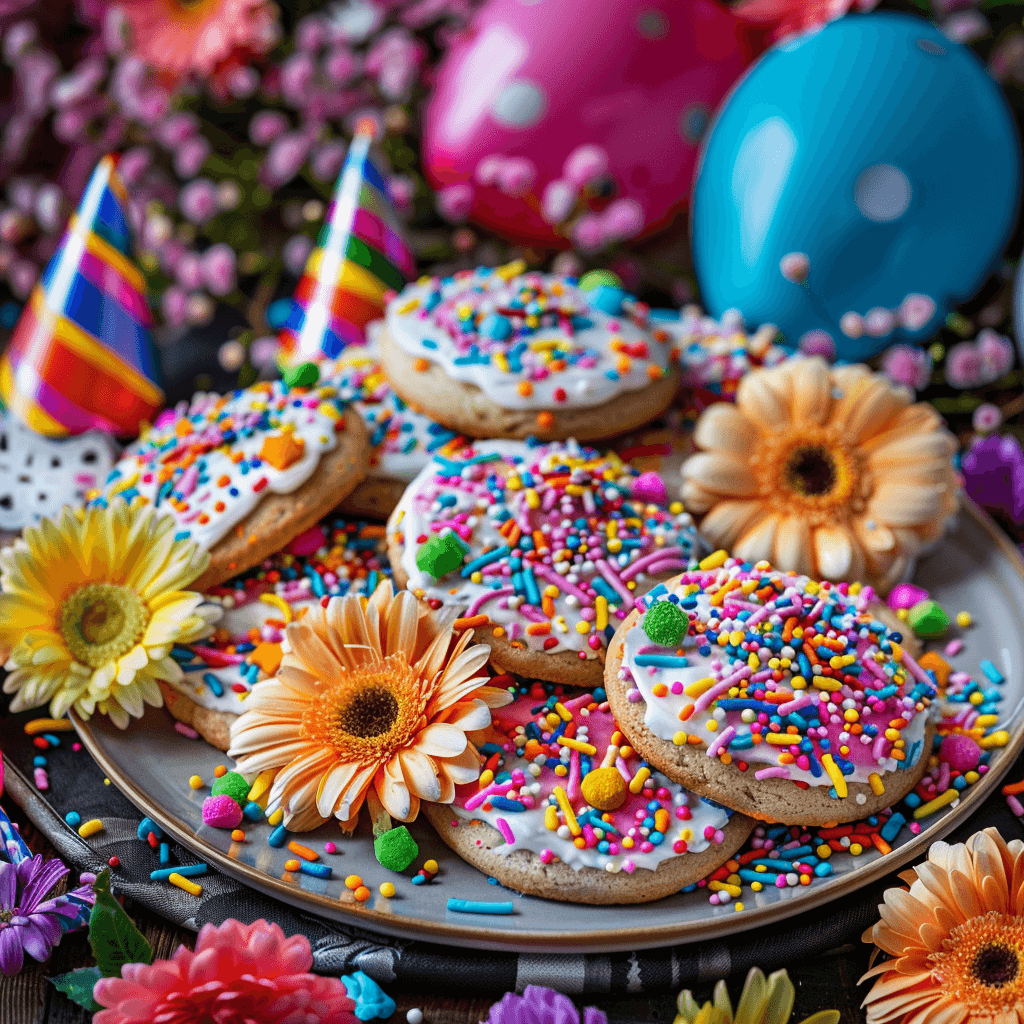
So grab your mixing bowl, turn on some music, and let’s make some birthday magic happen. And hey, if your cookies don’t turn out Pinterest-perfect the first time, don’t sweat it. Mine didn’t either—and they still tasted delicious!
birthday cookies—because every celebration deserves a sweet treat. 🎉