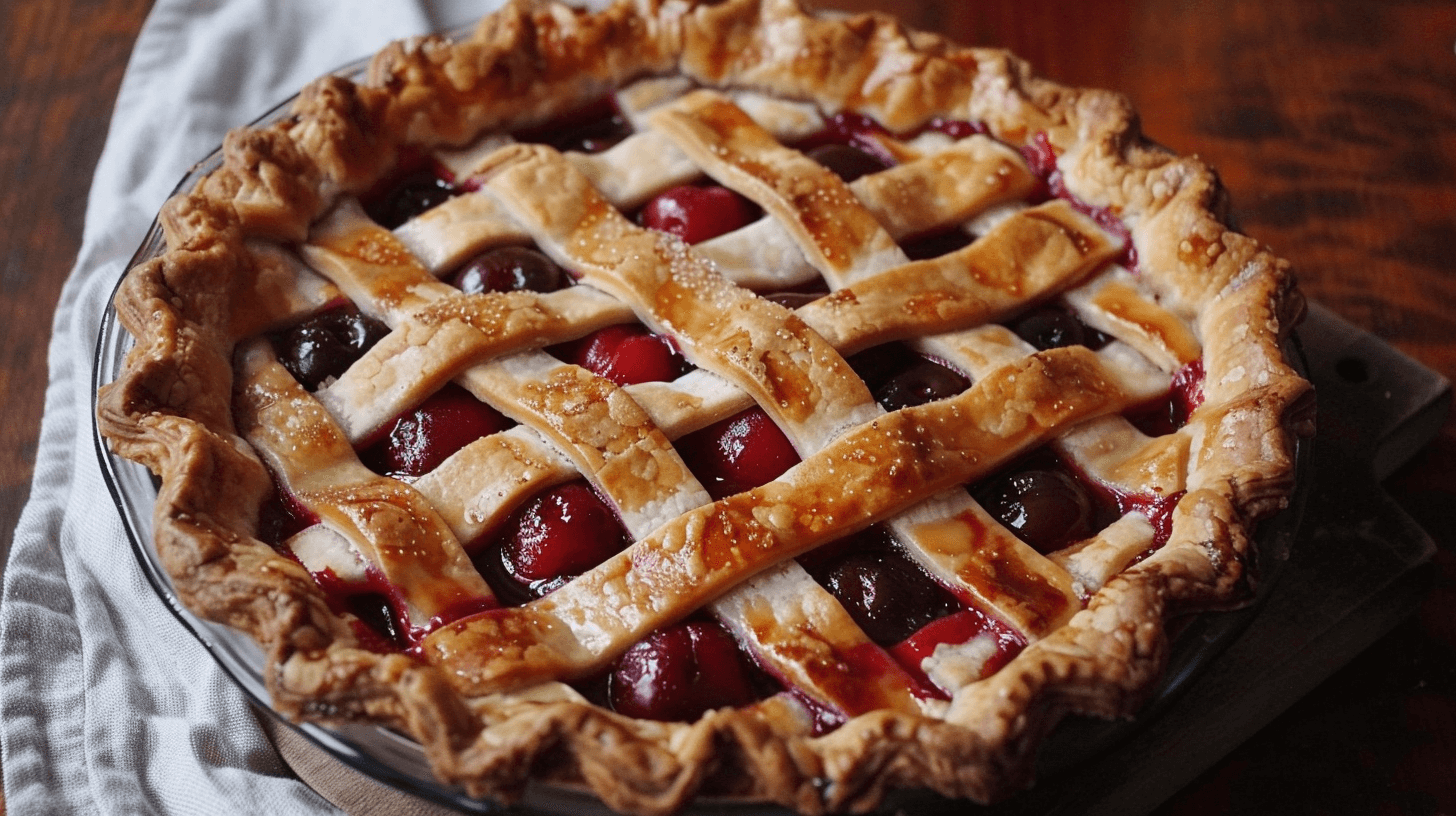
Imagine biting into a warm, flaky crust that crumbles in your mouth, followed by a burst of sweet and slightly tart cherries – that’s what this amazing cherry pie recipe is all about! It’s a dessert that feels like a warm hug, perfect for sharing with your family and friends, no matter the season.
Table of contents
- The Timeless Appeal of Cherry Pie
- Gathering Your Ingredients for the Perfect Cherry Pie
- Step-by-Step Guide to Baking Your Cherry Pie
- Tips for the Best Cherry Pie Every Time
- Cherry Pie Variations to Explore
- Storing Your Homemade Cherry Pie
- Frequently Asked Questions About Cherry Pie
- Related Recipes You Might Love
The Timeless Appeal of Cherry Pie
A Beloved Dessert Across Cultures
Cherry pie isn’t just a simple dessert; it’s a classic that many people around the world enjoy. From cozy family gatherings to festive holiday tables, a good cherry pie is always a welcome treat. It reminds us of happy times and the simple joy of a delicious, homemade goodie.
Why This Cherry Pie Recipe is Special
Through my years of baking, I’ve learned that the best recipes are often the most straightforward. This cherry pie recipe focuses on using quality ingredients and simple techniques to create a truly exceptional pie. What makes it special is the balance of sweet and tart cherries, nestled in a perfectly flaky crust. I’ll share some of my expert tips to ensure your cherry pie turns out just right every single time.
Gathering Your Ingredients for the Perfect Cherry Pie
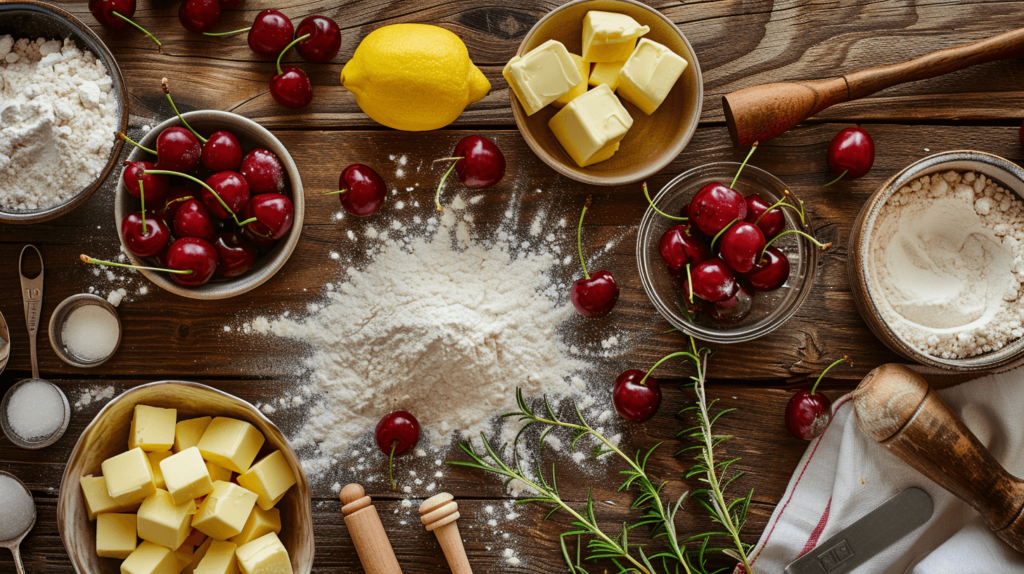
To make a truly memorable cherry pie, you’ll need a few key ingredients. Let’s break them down:
For the Pie Crust:
- All-purpose flour
- Cold unsalted butter
- Granulated sugar
- Salt
- Ice water
For the Cherry Pie Filling:
- Fresh or frozen cherries (pitted)
- Granulated sugar (you can adjust this depending on how sweet your cherries are)
- Cornstarch (this helps to thicken the yummy cherry juice)
- Lemon juice (a little bit makes the cherry flavor pop!)
- Almond extract (just a tiny bit adds a wonderful flavor, but you can skip it if you don’t have any or don’t like it)
- A pinch of salt
- Unsalted butter (a little bit makes the filling extra rich)
- Egg (we’ll use this with a little water to brush on the crust and make it golden brown)
- Demerara sugar (this is a special kind of sugar that adds a nice crunch and sparkle to the top, but it’s optional)
Step-by-Step Guide to Baking Your Cherry Pie
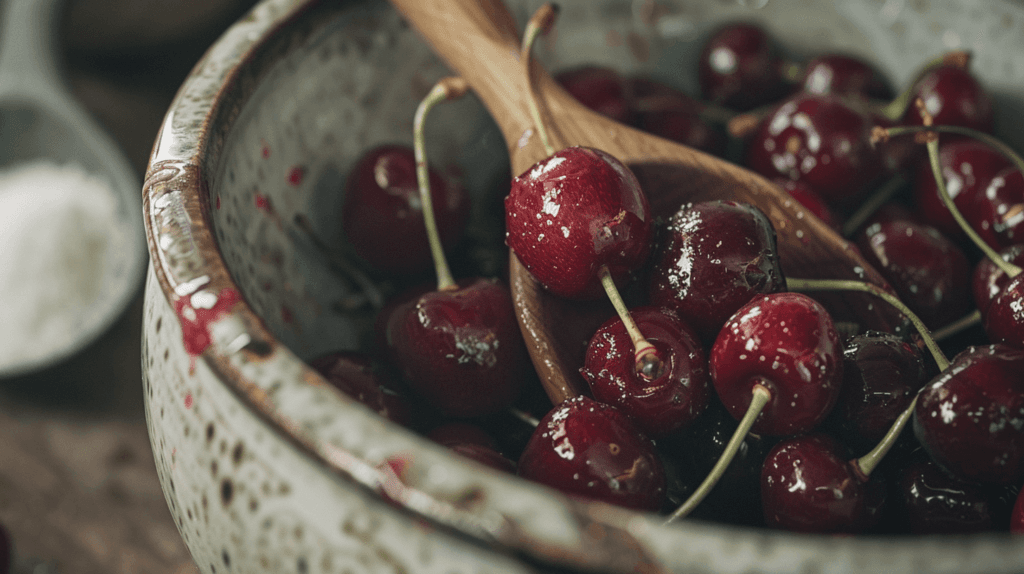
Making a cherry pie might seem like a lot of work, but if you follow these steps, you’ll see it’s easier than you think!
Preparing the Homemade Pie Crust
From my kitchen tests, making your own pie crust really elevates the final cherry pie.
Combining dry ingredients
First, you’ll mix the flour, sugar, and salt together in a bowl.
Incorporating the cold butter
The secret to a flaky crust is cold butter! You’ll cut the cold butter into small pieces and mix it into the flour until it looks like coarse crumbs with some small pieces of butter still visible.
Adding ice water to form the dough
Next, you’ll add very cold water, a little bit at a time, and gently mix until the dough just comes together. Be careful not to add too much water!
Chilling the pie dough
Now comes the waiting part, but it’s important! You’ll wrap the dough in plastic wrap and put it in the fridge to chill. This helps the gluten relax and makes the dough easier to roll out.
Rolling out the bottom crust
Once the dough is chilled, you’ll roll out half of it on a lightly floured surface to make the bottom crust.
Transferring the crust to the pie dish
Carefully place the rolled-out dough into your pie dish. You can trim the edges and crimp them to make a pretty border.
Rolling out the top crust (or making a lattice)
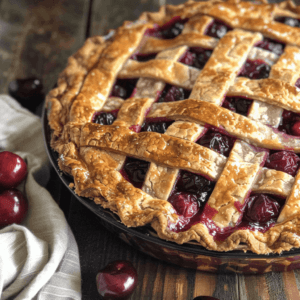
Roll out the other half of the dough for the top crust. You can either place the whole circle of dough over the filling or cut it into strips to make a lattice top, which looks really fancy!
Making the Delicious Cherry Pie Filling
The heart of our cherry pie is the sweet and tangy filling.
Combining cherries, sugar, and thickener
In a bowl, gently mix the pitted cherries with the sugar, cornstarch, and salt. The amount of sugar you use might depend on whether your cherries are sweet or tart. If you’re using tart cherries, you might want to add a little more sugar.
Adding flavor enhancers
Stir in the lemon juice and almond extract (if you’re using it). These little additions really bring out the best in the cherry flavor.
Letting the filling sit
Let the cherry mixture sit for a few minutes. You’ll notice the cherries will start to release some of their juices, which is exactly what we want!
Assembling and Baking the Cherry Pie
Almost there! Now we put it all together and bake our wonderful cherry pie.
Pouring the filling into the crust
Carefully pour the cherry filling into the prepared bottom pie crust.
Dotting with butter
Cut the unsalted butter into small pieces and scatter them over the top of the filling. This adds extra richness.
Adding the top crust and sealing the edges
Place your top crust over the filling. If you made a lattice, carefully weave the strips over and under each other. Trim the edges of the top crust and crimp them together with the bottom crust to seal the pie.
Creating vents for steam to escape
Cut a few slits or make a small design with a knife in the top crust. This allows steam to escape while the pie is baking, preventing the crust from getting soggy.
Applying the egg wash and sugar (optional)
In a small bowl, whisk together the egg and a tablespoon of water. Brush this mixture over the top crust. If you like, sprinkle some demerara sugar on top for extra sparkle and crunch.
Baking until golden brown and bubbly
Bake the cherry pie in a preheated oven until the crust is golden brown and the filling is bubbly. This usually takes about an hour, but keep an eye on it. If the crust starts to brown too quickly, you can loosely tent it with aluminum foil.
Cooling the pie completely before slicing
This is the hardest part, but it’s crucial! Let the cherry pie cool completely on a wire rack before you try to slice it. This allows the filling to set properly, so it’s not too runny.
Tips for the Best Cherry Pie Every Time
Through recipe testing, I’ve gathered some essential tips for a perfect cherry pie:
- Choosing the Right Cherries: For best results, use a mix of sweet and tart cherries. If you only have one type, adjust the sugar accordingly.
- Working with Frozen Cherries: Don’t thaw frozen cherries before using them in the filling. They release too much liquid, which can make your pie soggy. Just add them directly to the filling mixture and you might need to bake the pie a little longer.
- Achieving a Flaky and Tender Pie Crust: The key is to keep the butter cold and not overwork the dough.
- Preventing a Soggy Bottom Crust: One trick is to partially bake the bottom crust before adding the filling. This is called blind baking. You can also sprinkle a little bit of flour or breadcrumbs on the bottom crust before adding the filling to absorb excess moisture.
- Getting the Perfect Cherry Pie Filling Consistency: Cornstarch and tapioca starch are great thickeners. Make sure to mix them well with the sugar before adding the cherries to avoid lumps.
- Troubleshooting Common Cherry Pie Mistakes: If your crust is browning too fast, cover it loosely with foil. If your filling is too runny even after cooling, you might need to use more thickener next time.
Cherry Pie Variations to Explore
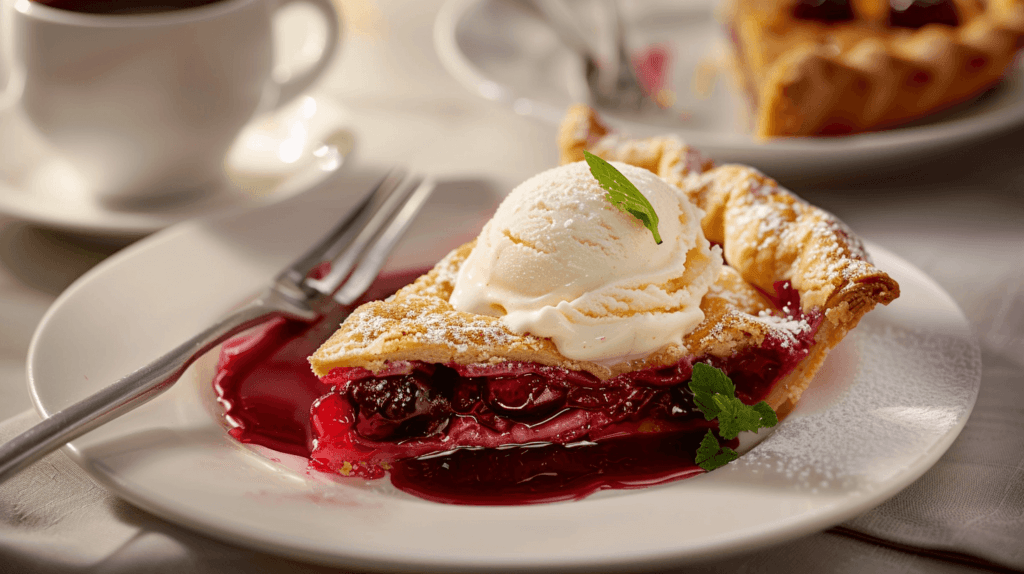
Once you’ve mastered the classic cherry pie recipe, you can try some fun variations!
- Adding Spices for Warmth: A pinch of cinnamon or nutmeg in the filling can add a lovely warm flavor, especially during the cooler months.
- Different Crust Options: You can experiment with different types of crusts, like one made with shortening for extra tenderness or a gluten-free crust for those with dietary restrictions. You can even try a delicious crumb topping for a different texture.
- Creative Toppings: Instead of a full top crust, try making a streusel topping with flour, butter, and sugar for a delightful crunch.
- Individual Cherry Pies or Hand Pies: For a fun twist, you can make smaller, individual cherry pies or hand pies. These are perfect for parties or when you want a single serving.
Storing Your Homemade Cherry Pie
Knowing how to store your cherry pie properly will help it stay fresh and delicious for longer.
- Best Practices for Countertop Storage: A baked cherry pie can usually be stored at room temperature for a couple of days, as long as it’s covered to protect it from dust and pests.
- Refrigerating for Longer Freshness: If you want to keep your cherry pie fresh for longer, you can store it in the refrigerator for up to a week. Make sure it’s well covered.
- Freezing Cherry Pie for Future Enjoyment: Yes, you can freeze a baked cherry pie! Let it cool completely, then wrap it tightly in plastic wrap and then in aluminum foil. It can be stored in the freezer for up to 3 months.
- Tips for Reheating Cherry Pie: To reheat a frozen cherry pie, you can bake it in a preheated oven at a low temperature until it’s warmed through. For a slice of pie, you can simply warm it up in the oven or even in the microwave.
Frequently Asked Questions About Cherry Pie
Yes, absolutely! If you’re short on time, a good quality store-bought pie crust will work just fine.
Yes, you definitely need to pit the cherries before using them in the pie. Nobody wants to bite into a pit!
The crust should be golden brown, and you should see the filling bubbling in the center (if you have vents in the top crust).
This could be due to not using enough thickener or not letting the pie cool completely after baking.
Yes, you can bake a cherry pie a day or two in advance and store it at room temperature or in the refrigerator.
Related Recipes You Might Love
Quick Shortbread Cookies: Perfect for Beginner Bakers
They are buttery and melt in your mouth. Perfect for when you want a little treat with your afternoon tea or coffee.
Best Ever Lobster Rolls: A Taste of Summer in Every Bite
Imagine sinking your teeth into a roll overflowing with sweet, chilled lobster, barely dressed and nestled in a perfectly toasted bun. That’s the magic of a lobster roll.
DIY Buckboard Bacon
This recipe turns a pork shoulder into smoky, delicious bacon that will make your breakfasts and sandwiches amazing.
How to Make Korean-Style Potato Pizza at Home
Korean-style potato pizza—a flavor-packed fusion dish that combines the comfort of potatoes with the bold flavors of Korean cuisine.
Smoked Sturgeon with Lemony Dressing: A Refreshing Seafood Delight
Smoked sturgeon with lemony dressing is a gourmet dish that combines the smoky richness of smoked fish with the bright, zesty flavors of a citrus-based dressing. This recipe is perfect for summer gatherings or a light, flavorful meal.
Classic Cherry Pie Recipe
Ingredients
For the Pie Crust:
- 2 ½ cups all-purpose flour
- 1 tsp granulated sugar
- 1 tsp salt
- 1 cup 2 sticks cold unsalted butter, cut into cubes
- ½ cup ice water
For the Cherry Pie Filling:
- 6 cups pitted fresh or frozen cherries
- ¾ cup granulated sugar adjust to taste
- ¼ cup cornstarch
- 1 tbsp lemon juice
- ½ tsp almond extract optional
- ⅛ tsp salt
- 2 tbsp unsalted butter cut into small pieces
- 1 large egg beaten with 1 tablespoon water (for egg wash)
- 1 tbsp demerara sugar optional
Instructions
Make the Pie Crust:
- In a large bowl, whisk together the flour, sugar, and salt.
- Cut in the cold butter using a pastry blender or your fingertips until the mixture resembles coarse crumbs with some pea-sized pieces of butter remaining.
- Gradually add the ice water, one tablespoon at a time, mixing until the dough just comes together.
- Divide the dough in half, flatten each half into a disc, wrap in plastic wrap, and refrigerate for at least 1 hour.
Prepare the Cherry Pie Filling:
- In a large bowl, gently combine the pitted cherries, granulated sugar, cornstarch, lemon juice, almond extract (if using), and salt. Let sit for 15 minutes.
Assemble and Bake the Pie:
- Preheat oven to 400°F (200°C).
- On a lightly floured surface, roll out one disc of dough into a 12-inch circle. Carefully transfer it to the pie dish. Trim the edges, leaving a ½-inch overhang.
- Pour the cherry filling into the pie crust. Dot the top with the small pieces of butter.
- Roll out the second disc of dough into an 11-inch circle. Place it over the filling. Trim the edges, leaving a 1-inch overhang. Crimp the top and bottom crusts together to seal. Cut several slits in the top crust to allow steam to escape.
- Brush the top crust with the egg wash and sprinkle with demerara sugar (if using).
- Place the pie on a baking sheet (to catch any spills) and bake for 20 minutes at 400°F (200°C).
- Reduce the oven temperature to 375°F (190°C) and continue baking for another 40-50 minutes, or until the crust is golden brown and the filling is bubbling. If the crust starts to brown too quickly, cover it loosely with aluminum foil.
- Let the pie cool completely on a wire rack for at least 3-4 hours before slicing and serving. This allows the filling to set properly.
Notes
- For a Flakier Crust: Ensure all your ingredients, especially the butter and water, are very cold. Don’t overmix the dough; just combine until it comes together.
- Sweetness Adjustment: Taste your cherries before making the filling. If they are very tart, you may want to increase the amount of sugar slightly. Conversely, for very sweet cherries, you can reduce the sugar.
- Using Frozen Cherries: If using frozen cherries, there’s no need to thaw them. They might release a bit more liquid during baking, so you might want to add an extra teaspoon of cornstarch to the filling.
- Blind Baking for Extra Crispness: For an exceptionally crisp bottom crust, consider blind baking it. After placing the bottom crust in the pie dish, prick it with a fork, line it with parchment paper and pie weights (or dried beans), and bake at 375°F (190°C) for 15 minutes. Remove the weights and parchment and bake for another 5-7 minutes until lightly golden before adding the filling.
- Flavor Enhancements: Feel free to experiment with other extracts like vanilla or a hint of orange zest in the filling for a unique flavor profile.
- Serving Suggestions: This cherry pie is delicious on its own, but it’s also wonderful served warm with a scoop of vanilla ice cream, a dollop of whipped cream, or a drizzle of crème fraîche.
- Make Ahead Tip: You can prepare the pie crust a day in advance and store it in the refrigerator, tightly wrapped. Let it sit at room temperature for about 15-20 minutes before rolling it out.
