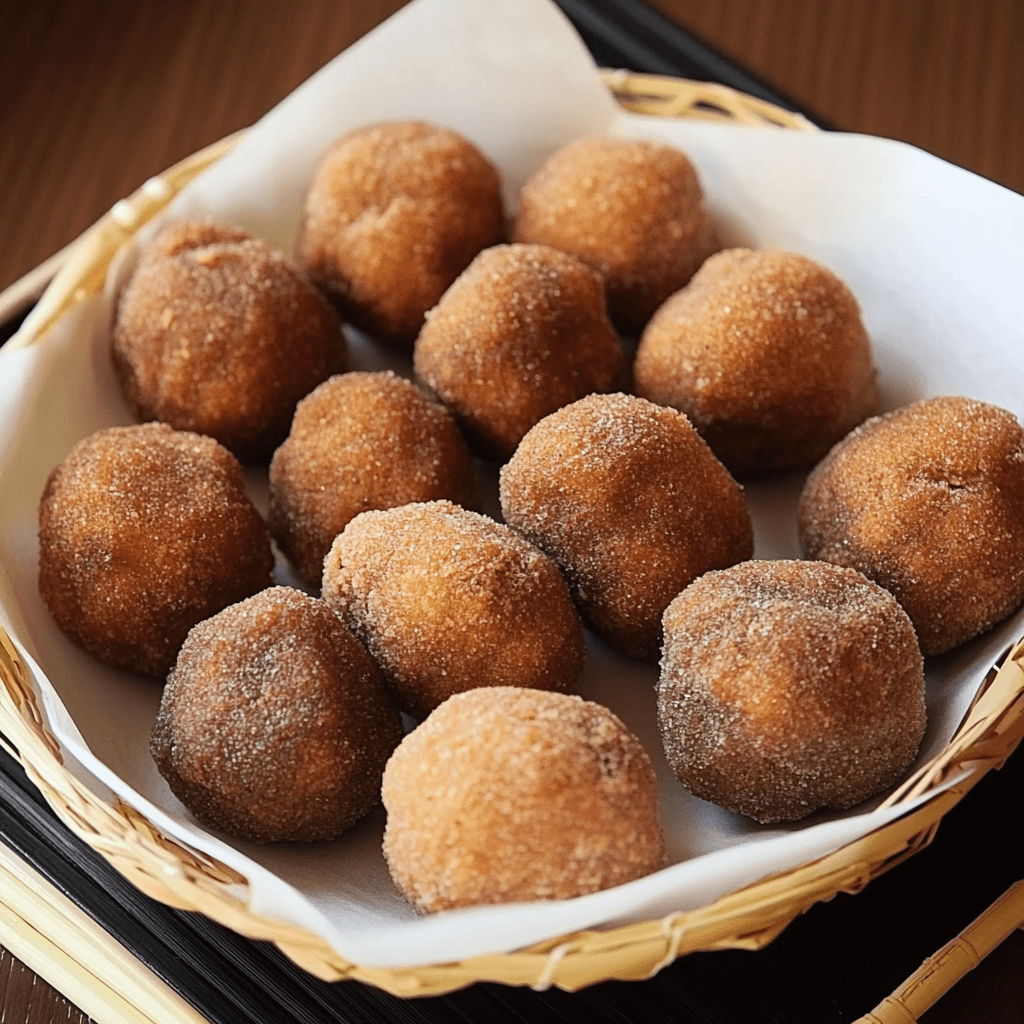
Sata Andagi, Okinawa’s beloved deep-fried doughnuts, are a delightful treat that combines simplicity with rich cultural heritage.

These golden, crispy-on-the-outside, fluffy-on-the-inside doughnuts are a staple in Okinawan cuisine and a must-try for anyone exploring traditional Japanese sweets.
Whether you’re a seasoned baker or a beginner, this guide will walk you through everything you need to know to make perfect Sata Andagi at home.
What is Sata Andagi?
Sata Andagi, often referred to as “Okinawan doughnuts,” are deep-fried balls of dough made from simple ingredients like flour, sugar, and eggs. Unlike Western doughnuts, Sata Andagi have a unique cracked surface and a dense, cake-like texture. They are traditionally enjoyed during festivals, family gatherings, and as a sweet snack with tea.
The Cultural Significance of Sata Andagi in Okinawa
Sata Andagi holds a special place in Okinawan culture. Originating from the Ryukyu Kingdom, these doughnuts are more than just a dessert—they are a symbol of celebration and togetherness. Often prepared during Obon festivals and other cultural events, Sata Andagi brings people together, making it a cherished part of Okinawan heritage.
Why Sata Andagi is a Must-Try Dessert
What sets Sata Andagi apart is its simplicity and versatility. With just a handful of ingredients, you can create a dessert that’s both comforting and exotic. The cracked surface, a hallmark of Sata Andagi, adds a unique visual appeal, while the rich, slightly sweet flavor makes it irresistible.
Key Ingredients for Authentic Sata Andagi

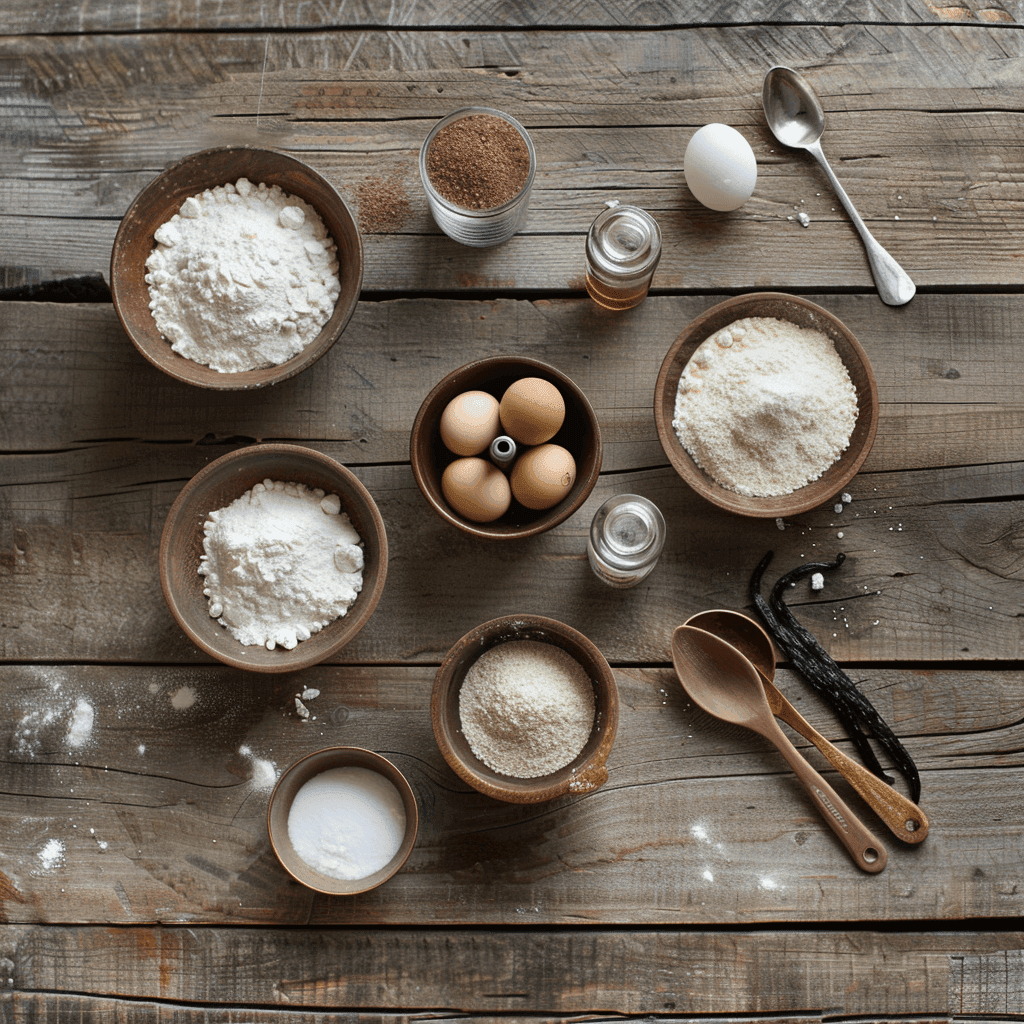
The beauty of Sata Andagi lies in its simplicity. Here’s what you’ll need to make this traditional treat:
Flour, Sugar, and Eggs: The Foundation of Sata Andagi
The base of Sata Andagi is a mixture of all-purpose flour, granulated sugar, and eggs. These ingredients create a dough that’s easy to work with and yields a tender, cake-like texture.
The Role of Baking Powder in Achieving the Perfect Texture
Baking powder is the secret to Sata Andagi’s signature cracked surface. It helps the dough expand during frying, creating those beautiful fissures that make these doughnuts so unique.
How to Make Sata Andagi: A Step-by-Step Guide

Making Sata Andagi is a straightforward process, but a few tips and tricks can help you achieve the best results.
Preparing the Dough: Tips for the Right Consistency
The dough should be firm enough to hold its shape but soft enough to scoop easily. Overmixing can lead to tough doughnuts, so mix just until the ingredients are combined.
Frying Techniques for Crispy, Golden Doughnuts
Frying Sata Andagi requires patience and precision. The oil temperature should be just right—too hot, and the doughnuts will burn; too cool, and they’ll absorb too much oil. Aim for a golden-brown color and a crispy exterior.
Tips for Perfect Sata Andagi Every Time
Here are some expert tips to ensure your Sata Andagi turns out perfectly:
Common Mistakes to Avoid
- Using cold ingredients can affect the dough’s texture. Make sure your eggs are at room temperature.
- Overcrowding the frying pan can lower the oil temperature, resulting in greasy doughnuts.
How to Achieve the Signature Cracked Surface
The key to the cracked surface is the right balance of ingredients and frying temperature. Don’t skip the baking powder, and make sure the oil is hot enough before adding the dough.
Creative Variations of Sata Andagi
While traditional Sata Andagi is delicious on its own, you can experiment with different flavors and adaptations.
Adding Flavors: Matcha, Chocolate, and More
Incorporate matcha powder for a green tea twist, or add cocoa powder for chocolate Sata Andagi. You can also mix in sesame seeds or citrus zest for added depth of flavor.
Gluten-Free and Vegan Adaptations
For a gluten-free version, use a 1:1 gluten-free flour blend. To make vegan Sata Andagi, replace the eggs with a flaxseed or chia seed mixture and use plant-based milk.
How to Store and Serve Sata Andagi
Sata Andagi is best enjoyed fresh, but you can store leftovers for later.
Best Practices for Storing Leftovers
Store Sata Andagi in an airtight container at room temperature for up to two days. For longer storage, freeze them and reheat in the oven or toaster.
Serving Suggestions: Pairings and Presentations
Serve Sata Andagi with a dusting of powdered sugar or a drizzle of honey. Pair it with Okinawan brown sugar tea or your favorite coffee for a delightful snack.
FAQs About Sata Andagi
What Makes Sata Andagi Different from Regular Doughnuts?
Sata Andagi has a denser, cake-like texture and a unique cracked surface, unlike the light and airy texture of Western doughnuts.
Can I Bake Sata Andagi Instead of Frying?
While frying is traditional, you can bake Sata Andagi for a healthier alternative. However, the texture and appearance will differ slightly.
Explore More Okinawan Recipes
If you enjoyed making Sata Andagi, why not try other Okinawan classics?
Authentic Okinawa Soba
A hearty noodle dish made with wheat noodles and tender pork.
Rafute: Okinawan Braised Pork Belly
Rafute is a slow-cooked pork belly dish that originated in Okinawa, Japan.The dish is often prepared with Awamori, a traditional Okinawan spirit, which adds depth and complexity to the braising liquid.
Goya Champuru: Okinawa’s Iconic Bitter Melon Dish
A stir-fry featuring bitter melon, tofu, and eggs.

Sata Andagi (Okinawan Doughnuts)
Ingredients
- 2 cups all-purpose flour
- 1 cup granulated sugar
- 2 large eggs
- 1 tsp baking powder
- 1/4 tsp salt
- 1/2 cup milk
- Oil for frying
Instructions
- In a large bowl, whisk together flour, sugar, baking powder, and salt.
- In a separate bowl, beat the eggs and milk. Gradually add the wet ingredients to the dry ingredients, mixing until just combined.
- Heat oil in a deep pan to 340°F (170°C).
- Scoop tablespoon-sized portions of dough and carefully drop them into the hot oil. Fry until golden brown, turning occasionally.
- Remove with a slotted spoon and drain on paper towels. Serve warm or at room temperature.
Notes
-
Achieving the Perfect Cracked Surface:
The signature cracked surface of Sata Andagi comes from the right balance of ingredients and frying temperature. Make sure your dough is not too wet, and maintain the oil temperature at around 340°F (170°C). If the oil is too hot, the doughnuts will cook too quickly and won’t crack properly. -
Room Temperature Ingredients:
Using room temperature eggs and milk helps the dough come together more easily and ensures a consistent texture. Cold ingredients can make the dough stiff and harder to work with. -
Frying Tips:
- Use a deep, heavy-bottomed pan for frying to maintain a stable oil temperature.
- Avoid overcrowding the pan, as this can lower the oil temperature and result in greasy doughnuts.
- Use a slotted spoon or spider strainer to gently turn the doughnuts while frying for even browning.
-
Flavor Variations:
- Matcha Sata Andagi: Add 1-2 teaspoons of matcha powder to the dry ingredients for a green tea flavor.
- Chocolate Sata Andagi: Mix in 2 tablespoons of cocoa powder for a chocolatey twist.
- Sesame Sata Andagi: Add 1-2 tablespoons of toasted sesame seeds to the dough for a nutty flavor.
-
Dietary Adaptations:
- Gluten-Free: Substitute all-purpose flour with a 1:1 gluten-free flour blend.
- Vegan: Replace the eggs with a flaxseed or chia seed mixture (1 tablespoon ground flaxseed or chia seeds + 3 tablespoons water per egg) and use plant-based milk.
-
Storing and Reheating:
- Sata Andagi is best enjoyed fresh but can be stored in an airtight container at room temperature for up to 2 days.
- To reheat, place the doughnuts in a preheated oven at 300°F (150°C) for 5-10 minutes or until warmed through.
- For longer storage, freeze the doughnuts in a single layer and reheat in the oven or toaster.
-
Serving Suggestions:
- Dust the doughnuts with powdered sugar or drizzle with honey for added sweetness.
- Serve with a cup of Okinawan brown sugar tea or your favorite coffee for a delightful snack.
- Pair with fresh fruit or a scoop of ice cream for a dessert platter.
-
Common Mistakes to Avoid:
- Overmixing the dough, which can lead to tough doughnuts.
- Frying at the wrong temperature (too hot or too cold).
- Skipping the baking powder, which is essential for the cracked surface.
-
Cultural Insight:
Sata Andagi is more than just a dessert—it’s a symbol of Okinawan culture and tradition. These doughnuts are often made during festivals and family gatherings, bringing people together over shared memories and delicious food. -
Experiment and Have Fun:
Don’t be afraid to experiment with flavors and techniques. Cooking is all about creativity, and Sata Andagi is a versatile recipe that welcomes innovation.