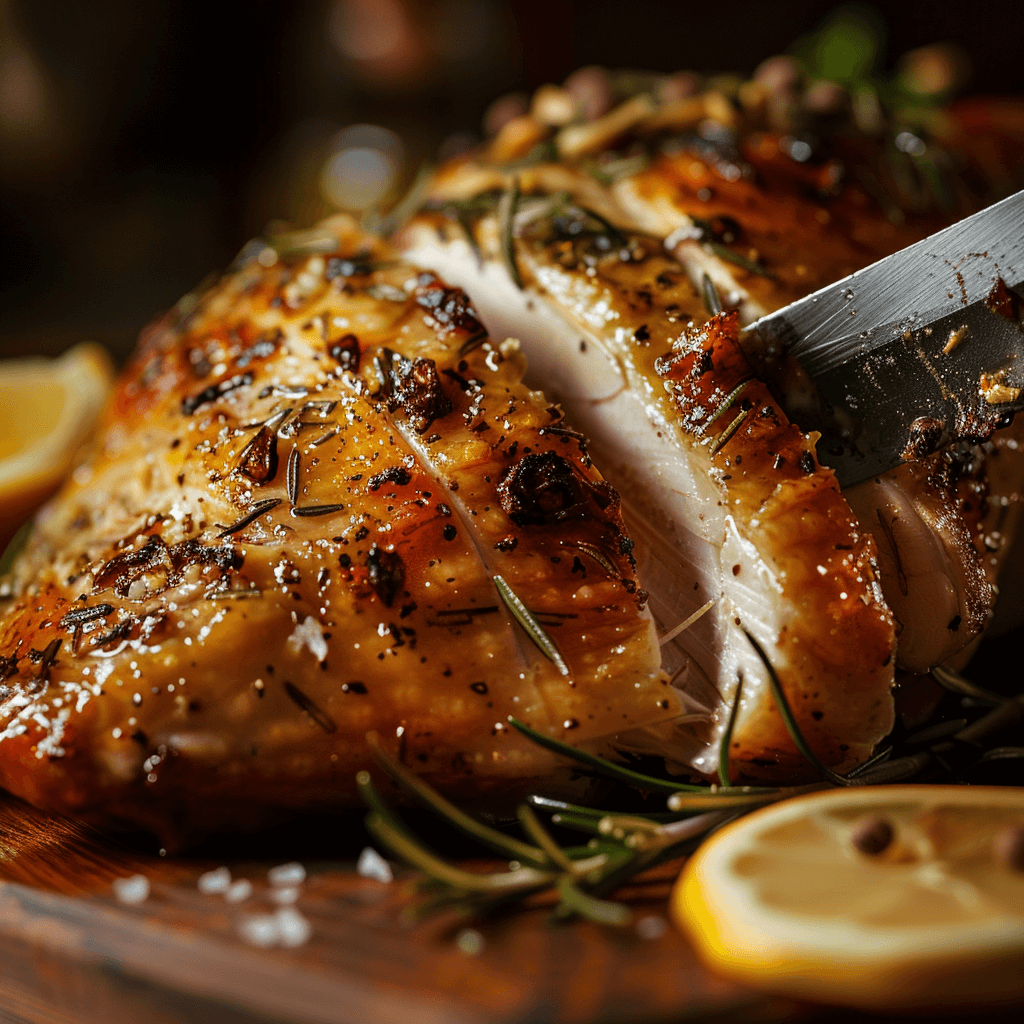
A perfectly cooked turkey starts long before it hits the oven. The secret? Brining. This simple yet transformative process ensures a juicy, flavorful, and tender turkey that will leave your guests asking for seconds. Whether you’re preparing for Thanksgiving, Christmas, or any special occasion, this turkey brine recipe is your key to success.
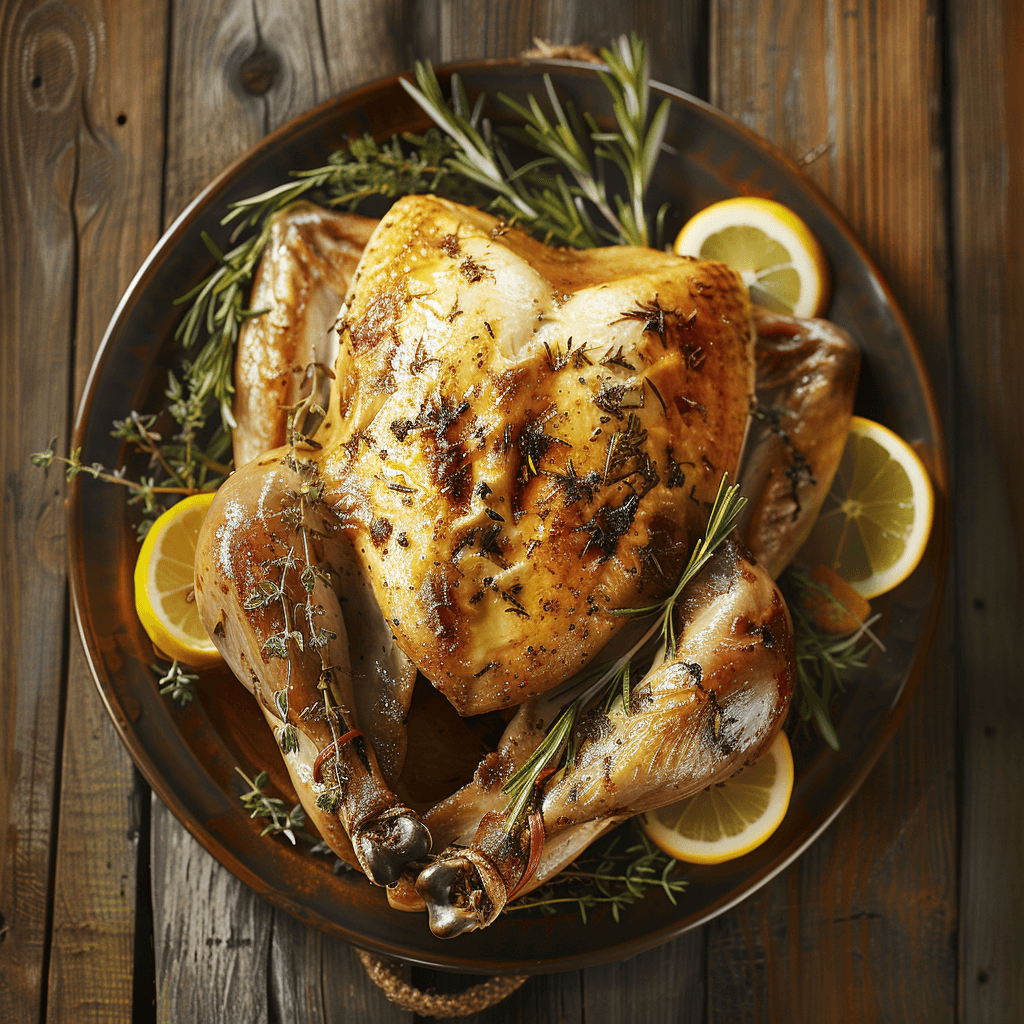
In this guide, we’ll cover everything you need to know—from why brining works to step-by-step instructions and expert tips to ensure delicious results. Let’s dive in!
Why Brining Your Turkey Is the Secret to Juiciness
What Is Brining?
Brining is the process of soaking a turkey in a saltwater solution infused with herbs, spices, and aromatics. This technique not only adds flavor but also helps the meat retain moisture during cooking.
When a turkey is brined, the salt in the solution breaks down proteins, allowing the meat to absorb water and seasonings. As a result, the turkey stays moist and flavorful even after hours in the oven.
Benefits of Brining a Turkey
Why is brining worth the extra effort? Here’s what makes it game-changing:
- Locks in Moisture – Brined turkey absorbs liquid, making it extra juicy.
- Enhances Flavor – Infusing the turkey with herbs, citrus, and spices creates a complex and savory taste.
- Tenderizes the Meat – Salt breaks down muscle fibers, resulting in softer, more tender meat.
So, if you want a turkey that’s succulent, flavorful, and impossible to dry out, brining is the way to go!
Wet Brine vs. Dry Brine
Not all brines are the same. Let’s quickly compare the two main methods:
- Wet Brine – This involves submerging the turkey in a liquid solution of salt, sugar, and spices. It’s ideal for locking in moisture but requires refrigeration space for the container.
- Dry Brine – Instead of liquid, a salt and spice rub is applied directly to the turkey’s skin. It’s simpler and requires less space but works better for crispy skin lovers.
Which should you choose? If you prioritize juiciness, go with a wet brine. But if you’re short on space, a dry brine is still an excellent option!
Essential Ingredients for the Best Turkey Brine Recipe
Key Ingredients You’ll Need
To make this easy and flavorful brine, gather the following:
- Kosher Salt – Essential for moisture retention and tenderizing the meat.
- Brown Sugar – Balances the salt and adds a hint of sweetness.
- Herbs and Spices – Rosemary, thyme, sage, bay leaves, and garlic infuse the brine with aromatic flavors.
- Citrus Fruits – Lemons and oranges add a bright, zesty flavor.

Optional Add-Ins for Extra Flavor
Want to take your brine up a notch? Try adding:
- Apple Cider or Honey – Adds richness and a sweet twist.
- Peppercorns and Cloves – Provides a warm, spiced aroma.
- Whiskey or Maple Syrup – Gives a complex, smoky flavor.
Ingredient Substitutions
- Gluten-Free Option – Use tamari instead of soy sauce if added.
- Low-Sugar Option – Swap brown sugar with a sugar substitute or skip it entirely.
- Citrus-Free Version – Replace fruits with vinegar for acidity.
Step-by-Step Instructions for Making Turkey Brine
Step 1: Prepare the Brine Solution
- Heat the Water: In a large pot, bring water, salt, and sugar to a simmer.
- Add Aromatics: Stir in herbs, citrus slices, and spices.
- Cool the Brine: Remove from heat and let the mixture cool completely.
Step 2: Brine the Turkey
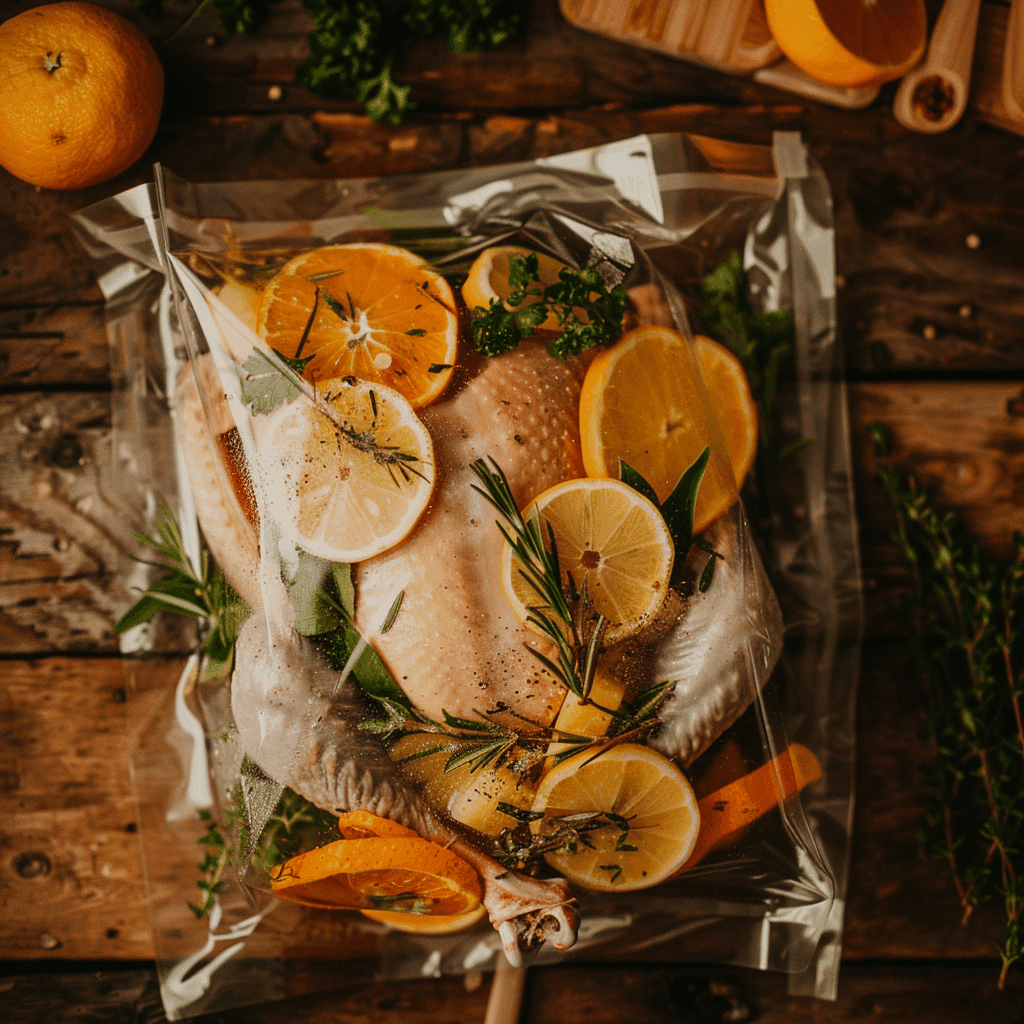
- Submerge the Turkey: Place the turkey in a brining bag or large container.
- Add the Brine: Pour the cooled brine over the turkey, ensuring it’s fully submerged.
- Refrigerate: Let it brine for 12–24 hours, turning occasionally.
Step 3: Rinse and Dry the Turkey
- Rinse Thoroughly: Rinse the turkey with cold water to remove excess salt.
- Pat Dry: Use paper towels to dry the skin completely.
Step 4: Prepare for Cooking
- Season Lightly: Add additional herbs and spices inside the turkey.
- Cook as Desired: Roast, smoke, or grill the turkey to perfection!
Tips and Tricks for Perfect Brining Results
- Avoid Over-Brining – Stick to the recommended time to prevent saltiness.
- Chill Brine Before Use – Prevent bacteria growth by cooling the brine completely.
- For Crispy Skin – Let the turkey air-dry overnight in the fridge after brining.
- Experiment with Flavors – Add maple syrup for sweetness or soy sauce for umami.
Frequently Asked Questions About Turkey Brine Recipe
1. How long should I brine my turkey?
- Brine for 12–24 hours, depending on size.
2. Can I brine a frozen turkey?
- No, thaw the turkey first for best results.
3. Do I need to rinse after brining?
- Yes, rinse lightly to remove excess salt.
Serving and Pairing Suggestions for Your Turkey
Classic Sides:
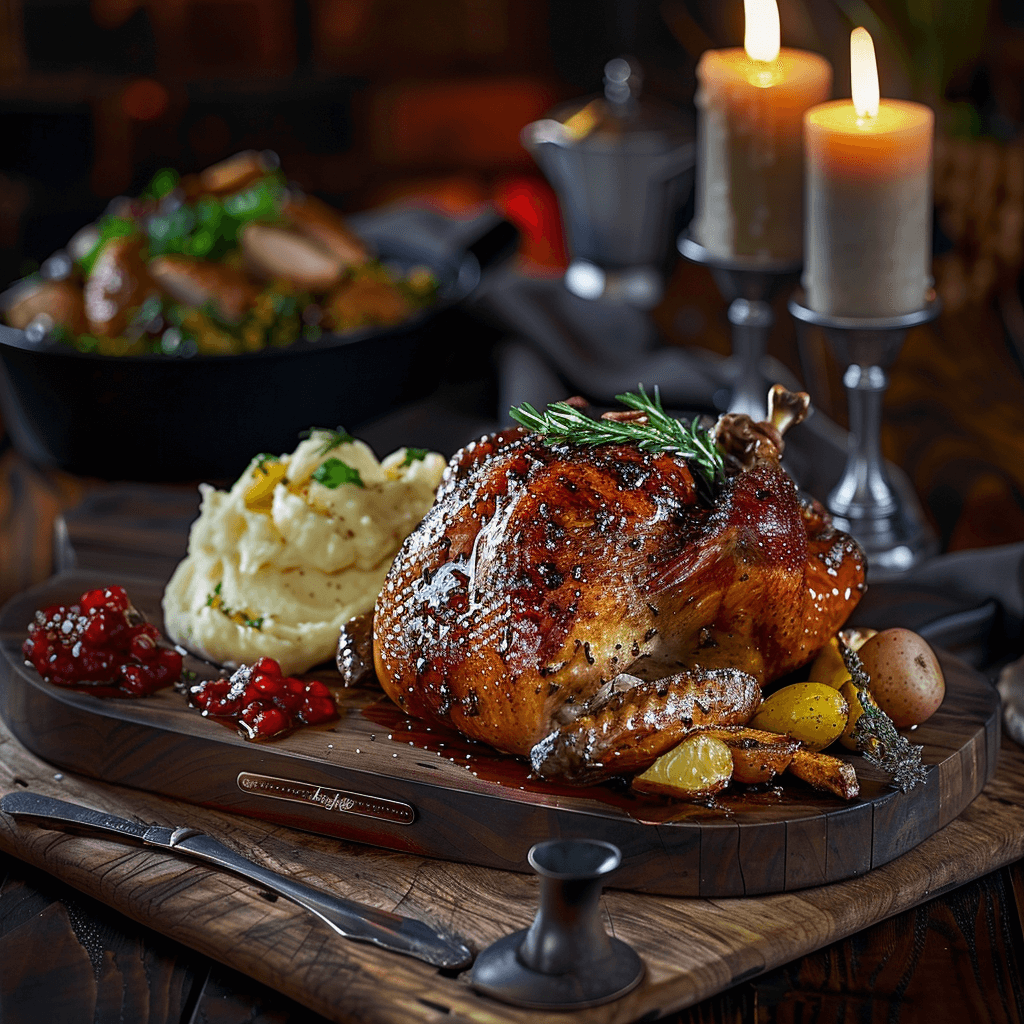
- Mashed potatoes, cranberry sauce, and roasted vegetables.
Gravy Ideas:
- Use pan drippings to create a savory gravy.
Wine Pairings:
- Chardonnay, Pinot Noir, or sparkling wine pair beautifully.
Final Thoughts on the Best Turkey Brine Recipe
This turkey brine recipe guarantees a juicy, flavorful, and show-stopping turkey. With its perfect balance of sweetness, herbs, and spices, it’s ideal for any celebration.
So why wait? Gather your ingredients, follow these simple steps, and enjoy the best turkey ever!
